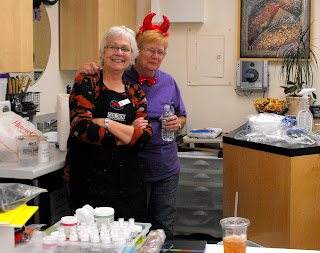
Here's Chris Cozen, on the right, busy working explaining the process. This class, at Stamping Details, was much more managable than the Faux Encaustic Class, with only seven students, compared to 18. Nice and quiet and very productive.
This is a sample of the canvas Chris completed of a botanical reverse painting on vinyl, then stapled onto a small canvas. (Sorry about the annoying flash on the bottom left of it.) Pretty though, isn't it!
Fellow classmates, including my friend Diane in the middle, studiously painting on their squares of vinyl. Diane and one other student took this same class before, but wanted to try it again.
I selected one of Chris Cozen's own stamps of a flower to use as one of my botanical images. First I traced the flower onto the vinyl with a white Sharpie Poster Paint Maker. We used fine and very fine. I selected pink and orange as my color choices and ended up using Quinacrinone Magenta and Pyrrole Orange and added Hansa Yellow Light and for the center and Ultramarine Blue for the highlights. I used only Golden Fluid Acrylic paints.
When you flip over the vinyl, this is what you see!!
I kept adding more and more layers of magenta and orange to get a more intense color. The white lines are from the Shapie Poster Paint Marker. I used a toothpick to subtract a bit of paint to create some clear lines in the flower. Then I painted the blue over the lines to give the flower some added depth. I also used the toothpick to make the little circles in the center of the flower, then painted orange over them. During the entire process, you have to keep flipping the piece of vinyl over to see what it looks like on the other side, since that will show the finished outcome.
Here's the finished flower!!
I used Ultramarina Blue, Cobalt Teal, Turquois Phthalo to paint the background. The palette knife naturally left some clear lines, so I added Indian Yellow and Magenta Light to fill them in and add some texture.
Here's is the same flower stamp created by Chris Cozen, but traced twice on the piece of vinyl This is what it looks like on the bottom as I painted it. I added the Quin Magenta first and let it dry, then added the Pyrrole Orange and let that dry. I added Hansa Yellow Light for the center of the flower and Cobalt Teal to give the petals highlights. Each of the pieces shown here will fit on a 4"x4" canvas.
This is what it looks like with the vinyl flipped over. No need to add varnish, since the paint is on the bottom, which faces the canvas. Any mistakes can be washed off with a spritz of alcohol.
Here's the double flower all done!
I used the same colors already mentioned, since I created them to go together as a set. Note how different it looks with the background colors added in!
Here's Chris's pomegrante stamp, traced onto vinyl with a few layers of paint.
Here's how it looks after I used a toothpick to subtract some paint to make little circles and add Cobalt Teal over it. My detail work isn't very good here, but I love the colors.
Here's how the Pomegrante looks all done!
The background was so easy to paint. All I did was take some paint and use a palette knife to spread it over the vinyl surrounding the image. I added a touch of yellow for highlights. It couldn't have been easier. It's important to allow each layer to dry before adding the next layer of paint.
Here's how the Monkeytails stamp by Chris looks from the back after I painted the Quin. Magenta and Pyrrole Orange over the image. (It's upside down.)
I enjoyed the process so much, I stopped at a Joanne's fabric store on the way home from class and picked up one yard of clear vinyl for about $5.00. I'm planning to create a few more botanical paintings like this, but on a much larger scale with a lot more details.
I hope you enjoyed my class trip by way of Blog. Feel free to ask any questions or leave a comment. Thanks for stopping by! Nina/Ruthie


